

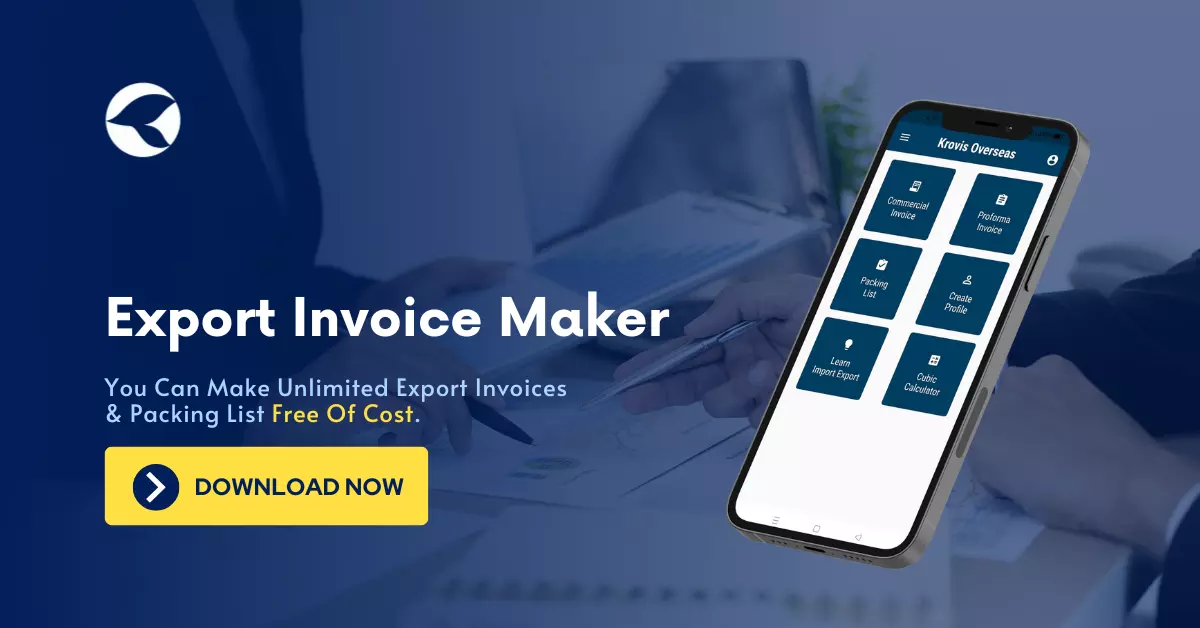
To create an export invoice using an export invoice maker app, you generally need to follow these steps:
Export invoice maker app in your preferred app store and install it on your device. Make sure to choose a Krovis Overseas's reputable export invoice maker app.
Open the export invoice maker app on your device.
Typically, the app will ask you to create a profile or provide your business details. Enter the required information such as your company name, address, contact details, and any other relevant information.
The app should provide various invoice specifically designed for export purposes. Select the template that suits your needs or matches the requirements of your export destination.
The app will prompt you to enter the necessary details for the invoice. This includes the buyer's information (name, address, contact details), invoice number, date of issuance, payment terms, and a description of the exported goods or services.
Enter the unit price, quantity, and any applicable discounts or taxes for each item or service exported. The app should automatically calculate the total amount. Also, select the appropriate currency for the transaction.
Export invoice maker apps allow you to customize the invoice appearance. You can add your company logo, adjust colors and fonts, and include any additional information or terms and conditions.
Double-check all the entered information to ensure accuracy. Verify the invoice details, buyer information, pricing, and any additional fields you've filled out.
Once you're satisfied with the invoice, save it within the app or export it as a PDF or other compatible file format. This app also allow you to directly email the invoice to the buyer.
If you haven't already done so, send the invoice to your export buyer through your preferred method, such as email or a secure file-sharing platform.
Remember, the exact steps and features of an export invoice maker app may vary depending on the latest update. Refer to the app's documentation or help section if you encounter any difficulties during the process.

@ Krovis Overseas | © 2021-2024
